Picture this. You’re at a family barbecue. Uncle Joe suddenly faints after standing too long in the heat. He slumps to the ground, eyes closed, but his chest rises and falls steadily. Panic sets in. What do you do next?
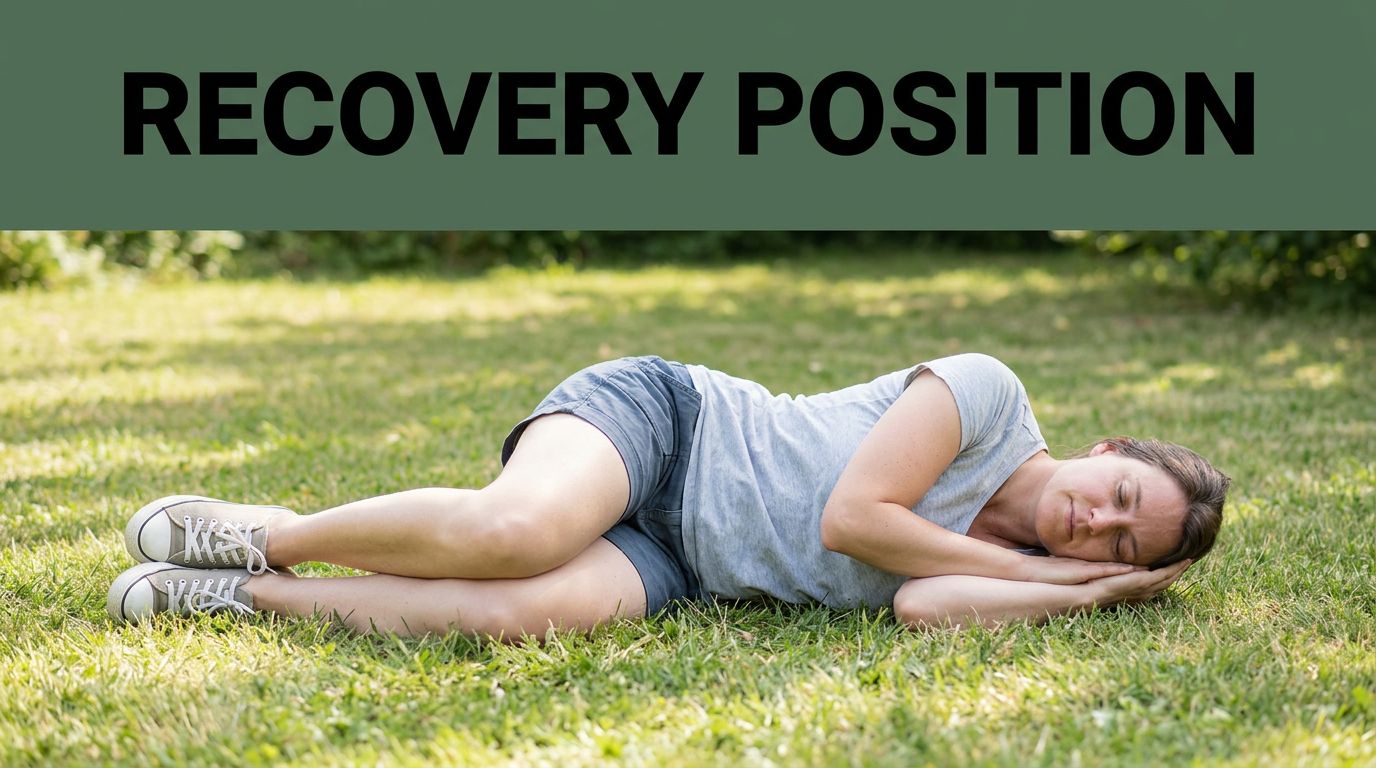
You check. He’s unresponsive but breathing. Fluids could pool in his throat. Vomit might block his airway. That’s where the recovery position comes in. This simple side-lying setup keeps the airway open. It lets gravity drain any fluids from the mouth. First aid experts recommend it for anyone unconscious yet breathing normally.
Groups like the American Red Cross back this move. It cuts choking risks big time. Aspiration pneumonia from fluids in lungs kills 10 to 50 percent in bad cases. You can prevent that.
This post breaks it down. You’ll learn why it works. When to use it and skip it. Step-by-step instructions. Common pitfalls too. Plus tweaks for kids. By the end, you’ll feel ready to act. Let’s build your skills.
What Makes the Recovery Position a First Aid Must-Know
The recovery position shines in emergencies. It protects someone unresponsive but breathing. Place them on their side. Bend the top leg for stability. Tilt the head back a bit. This keeps vomit, saliva, or the tongue from blocking the airway.
Think of it like rolling a log gently to safety. Fluids flow out instead of in. Oxygen reaches the lungs easier. It buys crucial time until paramedics arrive.
Key perks stand out. It slashes choking odds. Improves breathing flow. Prevents aspiration, that lung filler-upper. Studies show side-lying drops those risks sharp.
Unlike CPR, which handles no-breathing cases, this fits normal breaths. At least 10 per minute. Pulse present too. Red Cross and St. John Ambulance teach it worldwide. For details, check Cleveland Clinic’s recovery position overview.
Benefits include:
- Airway stays clear. Gravity pulls fluids down and out.
- Easier monitoring. You spot breathing changes fast.
- Stable until help. No need to flip them back right away.
Back-lying? Bad idea. Tongue flops back. Vomit pools. Complications rise. Side position fixes that. Stats back it. Unconscious breathers on backs face high aspiration hits. Side cuts that down.
It fits fainting, seizures post-shake, or overdoses. Always call 911 first. Then position. No major trauma though. We’ll cover that soon.
The Science Behind Why It Works So Well
Gravity does the heavy lifting here. Side-lying lets fluids drain from the mouth. No pooling in the throat.
On the back, tongue blocks easy. Vomit slides down. Lungs suffer. Aspiration follows. Pneumonia odds jump.
Guidelines confirm it. Side position opens airways best. Arrows in diagrams show flow out. Compare splits: back blocked, side free.
Red Cross notes it prevents silent aspiration too. That sneaky lung filler. For visuals, see medical illustrations on airway paths.
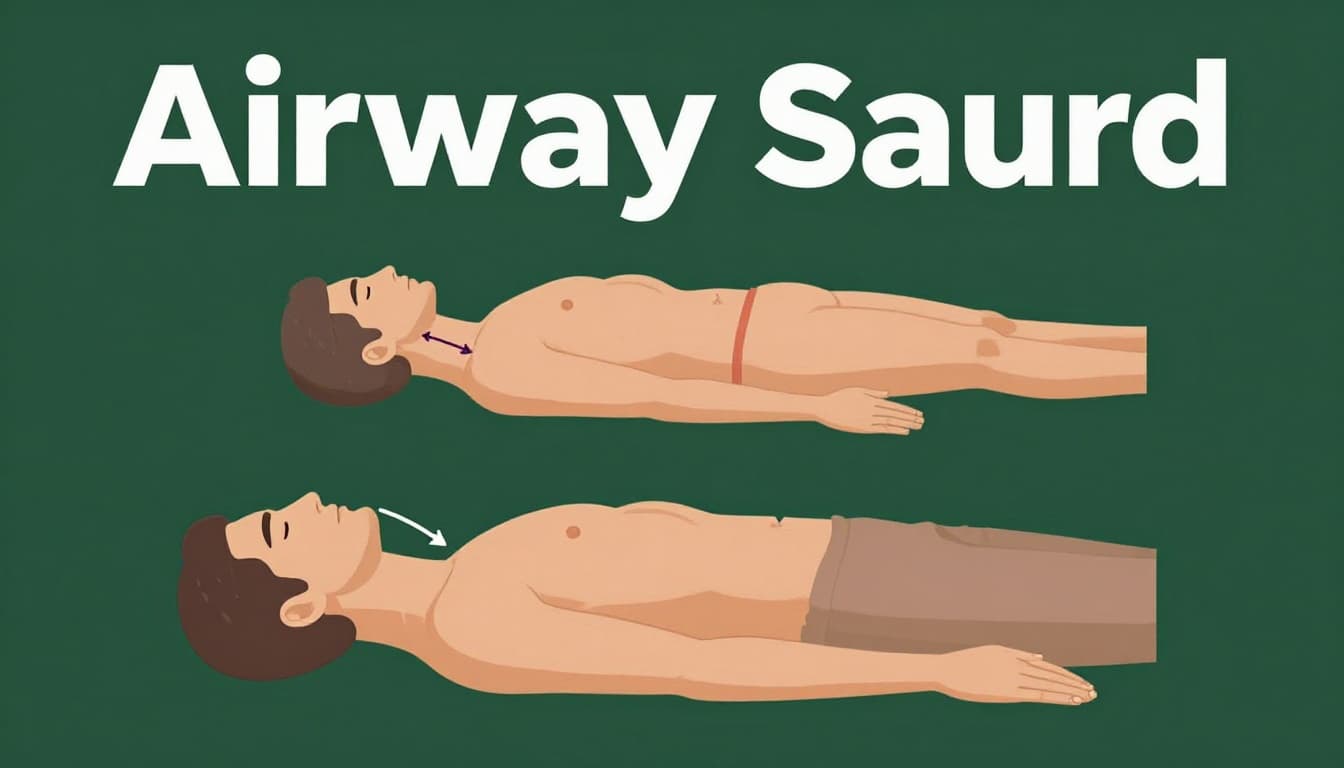
Simple physics saves lives. Fluids exit. Oxygen enters. Risks drop.
Spotting the Right Moments to Use the Recovery Position
Know the cues. Use it when someone’s out cold but breathing steady. Chest rises at least 10 times a minute. Pulse beats strong.
Common spots: fainting from heat or low sugar. After seizures stop shaking. Overdose with normal breaths. Stroke signs like droop, yet breathing holds.
Check ABCs first. Airway open? Breathing yes? Circulation via pulse? Good. Call 911. Then roll.
Here’s a quick check:
- Unresponsive to shouts or shakes.
- Normal breaths, no gasps.
- No spine injury hints like pain reports.
Always dial help first. Monitor close. It fits most adult collapses.
For when not, read on. Timing matters.
Red Flags: When the Recovery Position Is Not the Move
Skip it in key cases. Hurt first.
No go if:
- No breathing. Start CPR on back.
- Spine or neck injury. Keep flat. Log roll only if trained.
- Hip or pelvis trauma. Side worsens it.
- Abnormal breaths. Gasps or under 10 per minute mean CPR.
- Infants under one. Special hold instead.
Why? Moving injures more. CPR needs firm back. For details on avoids, see this first aid contraindications post.
Assess ABCs quick. Call pros. Check, call, care. Red Cross style.
Your Simple Step-by-Step Guide to Getting It Right
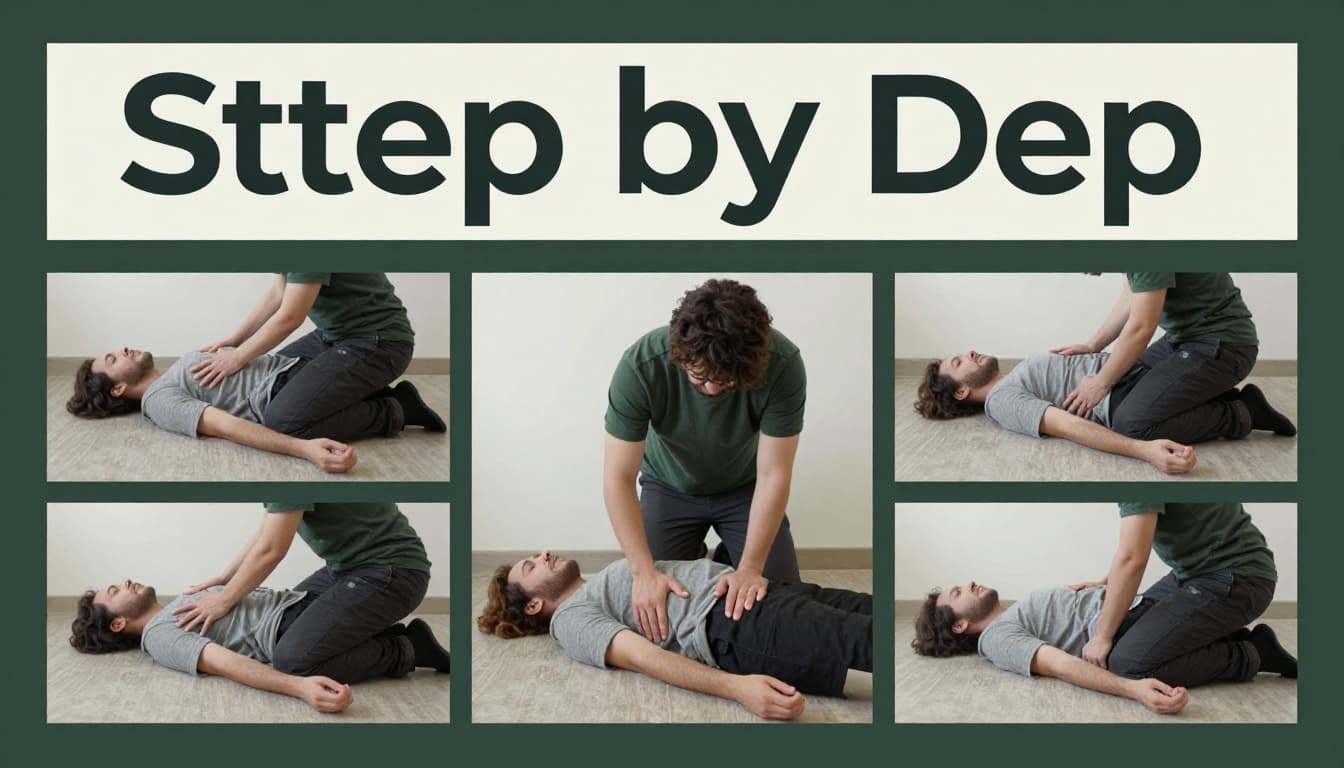
Ready to try? Kneel beside them on back. Face their near side. Stay calm.
Follow these steps for adults:
- Extend near arm. Straight out, right angle. Palm up.
- Cross far arm. Hand to far cheek. Elbow out.
- Bend far knee. Foot flat. Like ready to run.
- Roll toward you. Use knee as lever. Support head gentle.
- Tilt head back. Chin up slight. Open airway.
- Adjust top leg. Knee forward for steady.
- Monitor breathing. Re-check often. Call 911 done?
Support head always. Roll smooth, no jerks. Practice on floor mats first.
2026 guidelines match Red Cross. No big shifts. See St. John Ambulance reference guide for prints.
Pregnant? Left side. Eases vein pressure.
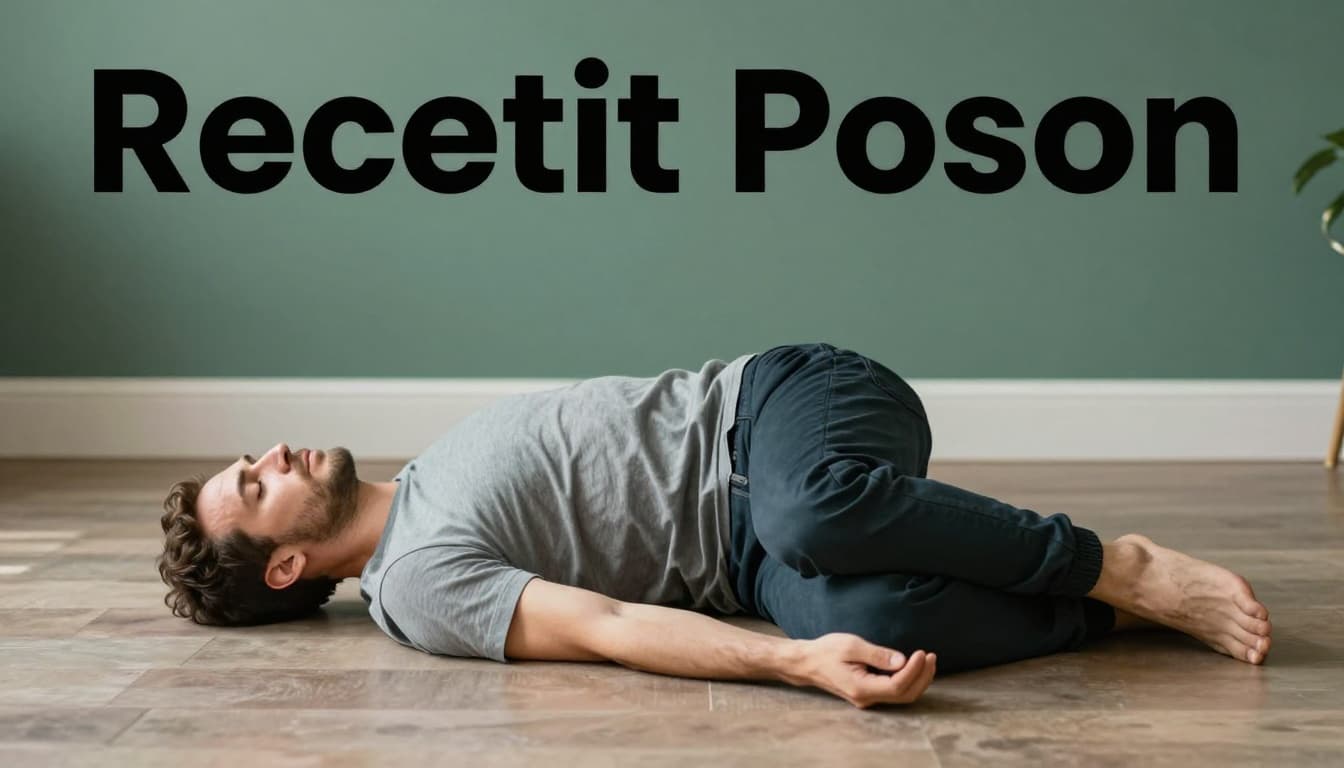
Tweaks for Kids and Infants
Kids over one follow adult steps. Gentler rolls. Smaller frames.
Infants differ. Small airways clog fast. Cradle face-down on forearm. Head lower than chest. Jaw lift gentle. Mouth clear.
Or ground: Side on blanket. Prop with cloth roll.
Why? Gravity drains better held. See infant recovery tips.
Monitor tight. Pros inbound.
Top Mistakes That Turn Help into Harm and Fixes
Pitfalls trip folks up. Avoid them.
- Skip head support. Risk: Neck strain. Fix: One hand steady always.
- Roll too rough. Risk: More injury. Fix: Slow, like log.
- Forget to call 911. Risk: Delay help. Fix: Phone first, speaker on.
- Use on no-breathers. Risk: Miss CPR. Fix: Check breaths 10 seconds max.
- Ignore trauma signs. Risk: Worsen breaks. Fix: Flat if spine suspect.
- Poor tilt. Risk: Block airway. Fix: Chin up gentle.
Don’t rush. Monitor vitals. Refresh skills yearly. Red Cross classes help.
Arm Yourself with Recovery Position Know-How
You’ve got the basics. Recovery position keeps airways clear for breathing unresponsives. Use post-faint, seizure, or when breaths steady. Skip on trauma, no breaths, or infants wrong-way.
Steps lock in: Arm out, knee bend, roll safe, tilt head. Dodge rough moves. Kids gentle, babies held low.
Practice pays. Take a Red Cross hands-on class. Or app drills. Share your story below. Ever used it? Pin this for family.
How long? Until help or they stir. You’ll save lives now. Act sure.